|
版主: wanchong , wangyu , eepwwp , firedom |
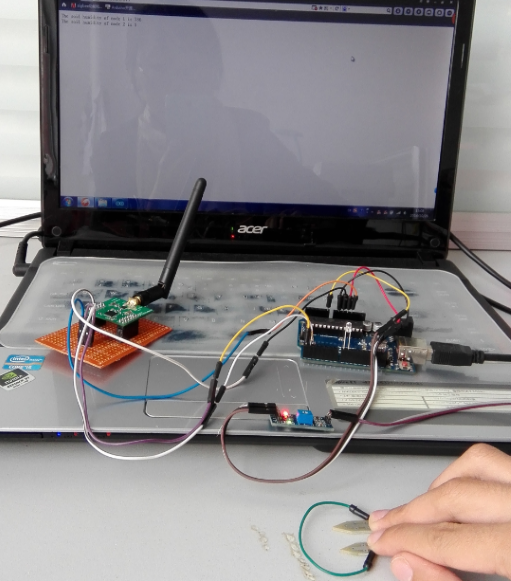
【回帖有惊喜】农田节水灌溉模拟系统开发手记——最通俗易懂的手记
[您是本帖的第10981位阅读者]|
Dream2013
最后登陆时间:2014-07-23 10:29:03 |
|
|
此帖由Dream2013于2014-10-28 12:37:14最后编辑
|
|
RE: 农田节水灌溉模拟系统开发手记1
|
谦谦公子
最后登陆时间:2014-08-16 16:12:15 |
朋友第一次手记,果断顶啊,前排 |
RE: 农田节水灌溉模拟系统开发手记1
|
宇智波鼬
最后登陆时间:2014-09-01 19:02:31 |
做开发的妹纸
|
RE: 农田节水灌溉模拟系统开发手记1
|
caocheng
最后登陆时间:2014-07-23 11:45:14 |
好板子,好电源啊, 期待开发进度。。
|
RE: 农田节水灌溉模拟系统开发手记1
|
Love2014
最后登陆时间:2014-09-01 19:29:57 |
赞一个 |
RE: 农田节水灌溉模拟系统开发手记
|
Dream2013
最后登陆时间:2014-07-23 10:29:03 |
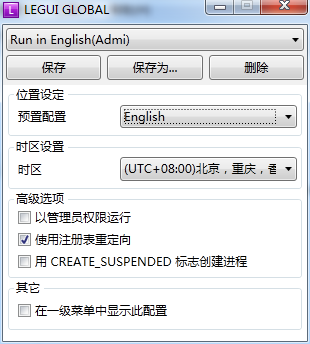
之前一直都私下里写来着,现在开始更新! Arduino闪退的原因,查过才发现不能在中文环境下运行,在指导老师的建议下,下载了转区工具 Locale Emulator.1.3.0.0
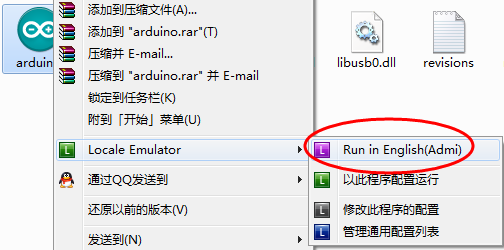
解压后,在Arduino 1.5.3单击右键,出现 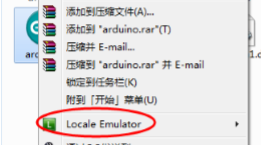
选择管理通用配置列表 配置如下:
保存好,在Arduino上点右键,选择
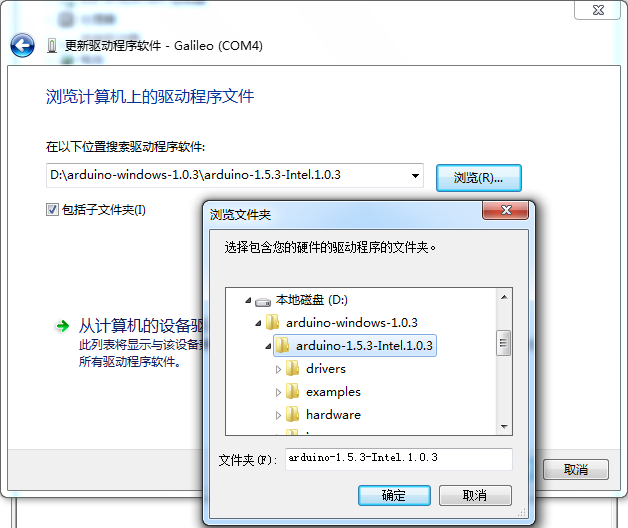
即可打开Arduino ======================================================================================== 接下来是驱动问题 系统为win7 32位,安装时路径选到D:\arduino-windows-1.0.3\arduino-1.5.3-Intel.1.0.3即可,之前选在drivers结果都找不到安装驱动。
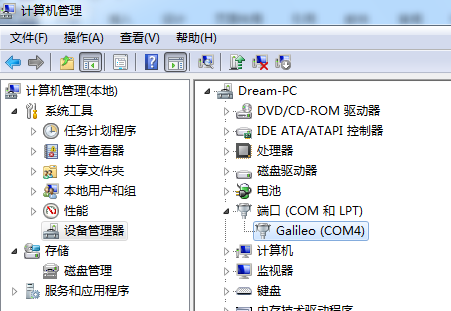
解决啦~
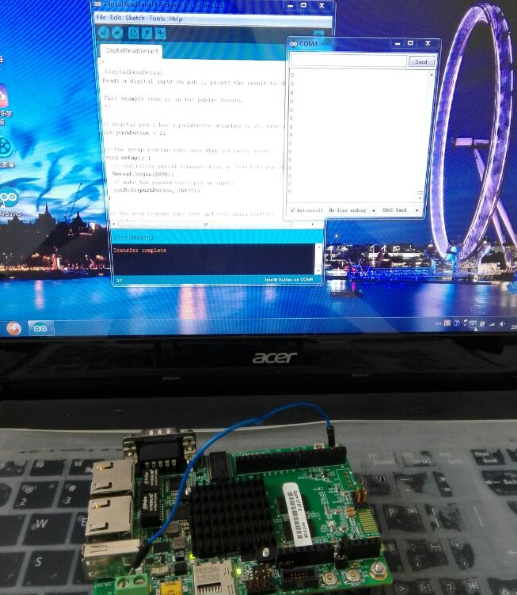
安装成功! ============================================================================================ 来,测试一下~
测试程序:DigitalReadSerial
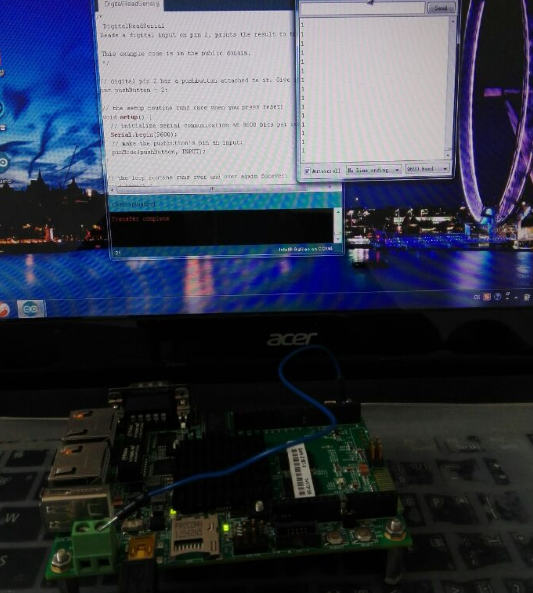
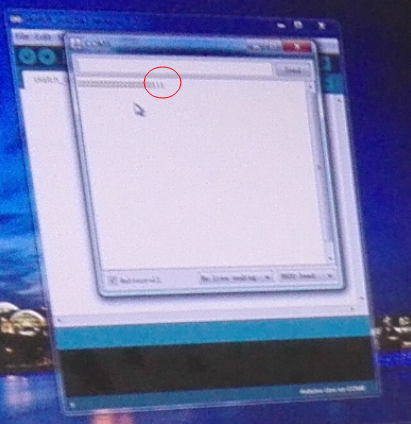
用导线将2脚与+5V相连,串口监视器显示1
准备工作都做完啦~~ 下面进入正常的开发过程。 |
RE: 农田节水灌溉模拟系统开发手记
|
Dream2013
最后登陆时间:2014-07-23 10:29:03 |
调试传感器与Zigbee模块
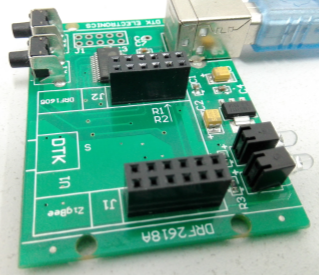
Zigbee模块用鼎泰克的,带有调试模块。Zigbee配置都会吧?就不讲了哈
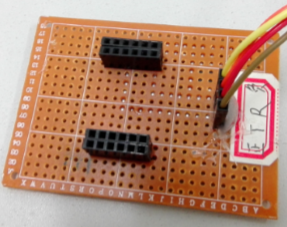
自己焊的转接座,跟Arduino相连的
背面 
还不错吧~\(≧▽≦)/~ 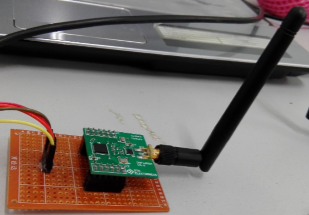
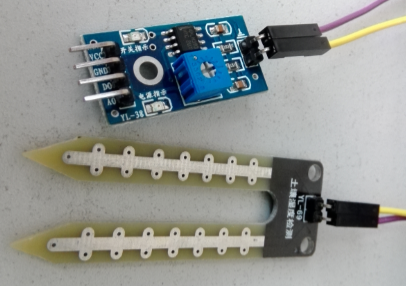
Zigbee的准备工作到此结束 接下来是,土壤湿度传感器
原理是通过两个金属片之间的电流判断土壤湿度大小,总之,土壤越干,返回模拟值越大,土壤越湿,返回模拟值越小。 终于,程序来了~ 以下为从机1的程序
String comdata = "";        //接收字符串初始化

int humValue;           //土壤湿度变量定义


//初始化

void setup()

{

  Serial.begin(9600);                //初始化串口波特率

}


void loop()

{

    humValue = analogRead(A0);           //从A0口读取土壤湿度传感器的值

    while ( Serial.available() > 0 )            //判断串口(Zigbee)

    {

      comdata += char(Serial.read());           //取值放入字符串

      delay(2);

    }

    if (comdata.length() > 0)           //判断字符串里的内容

    {

      if( comdata == "1" )               //判断索取从机1的信息

        Serial.println(humValue);                   //发送传感器模拟值

      comdata = "";                //清除字符串数组的内容

    }

}

从机2的程序与1相同,无非就是判断字符串内容时,if语句中的条件是if( comdata == "2" )


主机程序:

String comdata1 = "";               //接收从机1内容的字符串

String comdata2 = "";               //接收从机2内容的字符串

int a, b, i;


//初始化串口

void setup()

{

  Serial.begin(9600);

}

void loop()

{

  Serial.print('1');             //索要从机1检测的土壤情况

  while ( Serial.available()==0 )                //如果未收到,重复索取

  {

    Serial.print('1');

    delay(2000);

  }

  while ( Serial.available() > 0 )                 //如果收到,读取内容

  {

    comdata1 += char(Serial.read());

    delay(2);

  }

  if (comdata1.length() > 0)             //将字符转换成数字并储存在变量a中

  {

    for( i=0, a=0; comdata1[i]!='\0'; i++, a*=10 )

      if( comdata1[i]<=57&&comdata1[i]>=48 )

        a+=comdata1[i]-48;

    a/=10;

    comdata1 = "";                  //清空接收字符串

  }

  delay(5000);                   //延时5秒

  Serial.print('2');             //索取从机2检测的土壤的情况,以下程序同理

  while ( Serial.available()==0 )

  {

    Serial.print('2');

    delay(2000);

  }

  while ( Serial.available() > 0 )

  {

    comdata2 += char(Serial.read());

    delay(2);

  }

  if (comdata2.length() > 0)

  {

    for( i=0, b=0; comdata2[i]!='\0'; i++, b*=10 )

      if( comdata2[i]<=57&&comdata2[i]>=48 )

        b+=comdata2[i]-48;

      b/=10;

    comdata2 = "";

  }

  delay(5000);

}
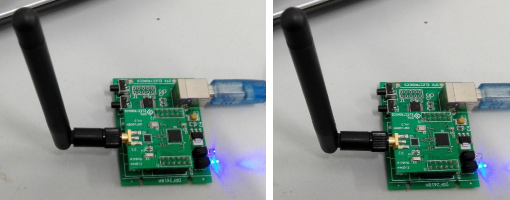
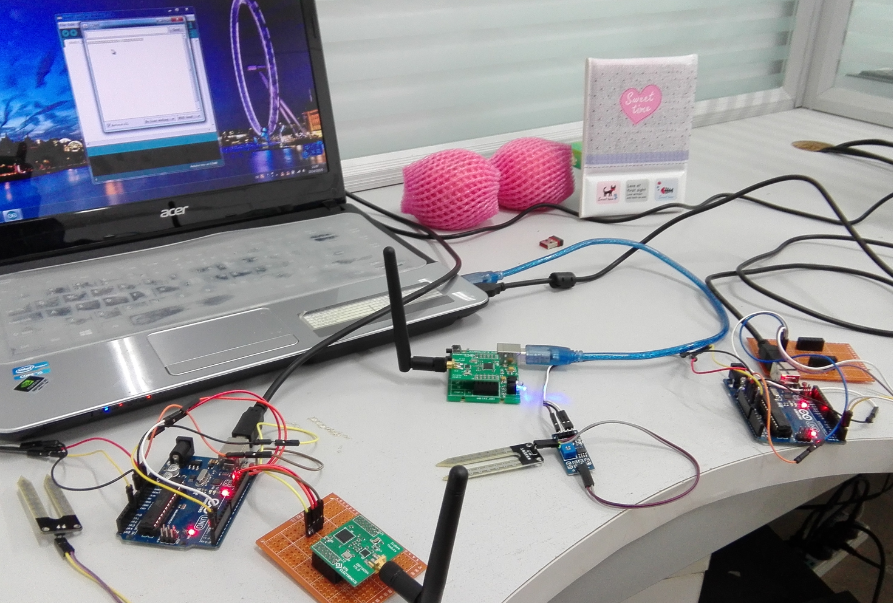
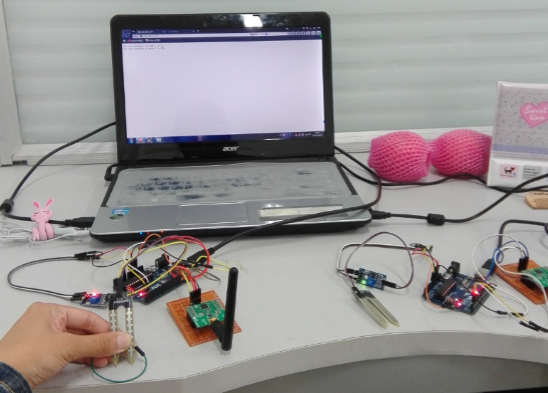
调试情况 1、 主机放在转接座上,测试从机程序 一个小灯闪烁,另一个小灯常亮,表示模块已与电脑连接
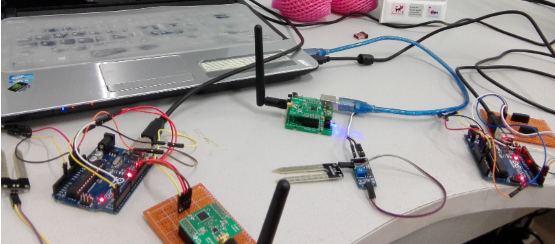
全景图 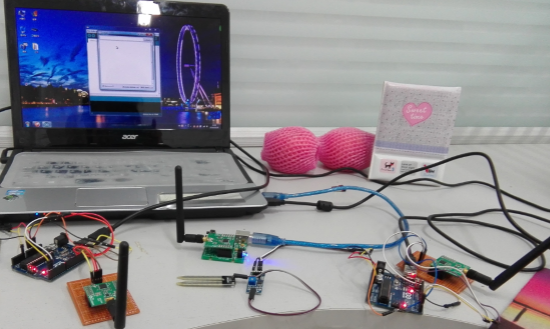
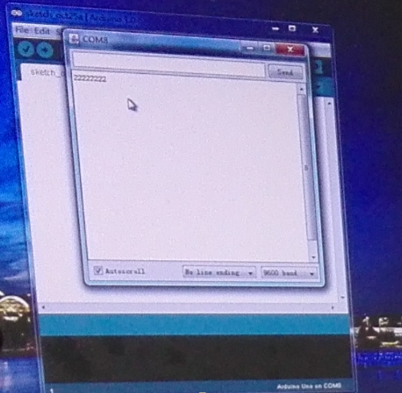
发送1 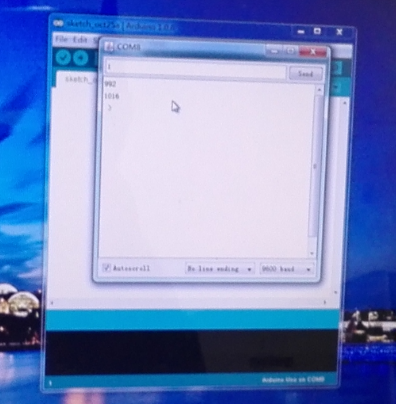
返回数值1002,发送2 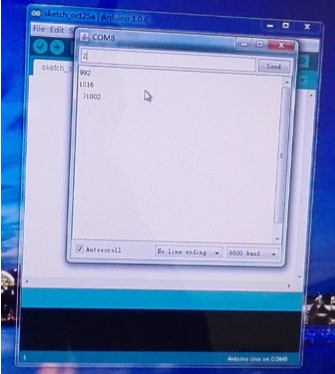
返回数值1023 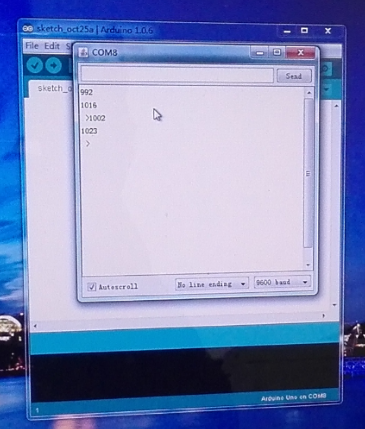
2、测试从机程序 取从机2的Zigbee模块,主机插回到SBS板子上
屏幕上,串口监视器显示索要从机2的信息,即主机没有收到从机2的信号,重复发送字符2。
发送信息1023,有点照花了,凑合着看吧 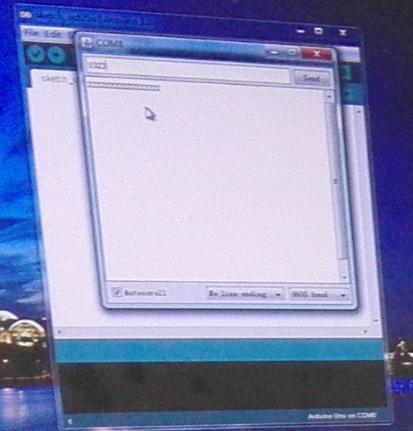
发送后,主机继续索要从机1的信息(囧,也照花了)
调试完成,再来一幅全景照。(可以看到主机收到从机1的信号后又开始索要从机2的数据。)
放大,也看不太清。。╮(╯▽╰)╭凑合一下 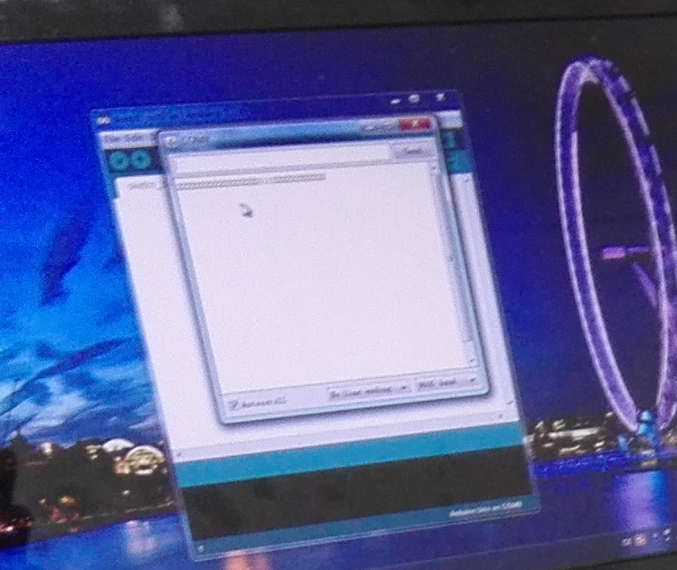
至此,主从机的土壤湿度检测及无线通讯部分调试成功。 ~\(≧▽≦)/~ |
|
此帖由Dream2013于2014-10-27 15:13:06最后编辑
|
|
RE: 农田节水灌溉模拟系统开发手记
|
Dream2013
最后登陆时间:2014-07-23 10:29:03 |
网络及远程监控端
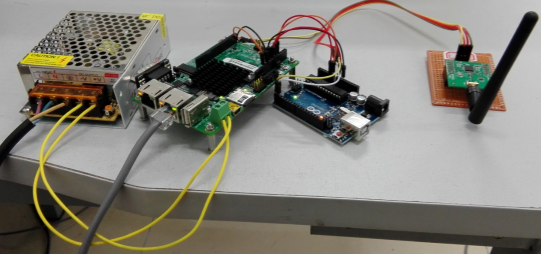
这个学期老师好像一直都没空,以我个人之力编写网络部分的程序实在是困难,无奈,最后决定用SBS开发板做服务器程序,却发现网口部分的程序还是要调用串口函数,底层的,修为不够,也改不了,迫不得已又拿一块Arduino转接一下。 所谓转接,就是用1块Arduino板子将从Zigbee读取的信号,转换成模拟值在模拟口输出。
这就是最后传说中的主机。囧(能力有限,想不坑都不行)
服务器的程序: #include <SPI.h>
#include <Ethernet.h>
// Enter a MAC address and IP address for your controller below.
// The IP address will be dependent on your local network:
byte mac[] = {
0xDE, 0xAD, 0xBE, 0xEF, 0xFE, 0xED };
IPAddress ip(192,168,1,177);
// Initialize the Ethernet server library
// with the IP address and port you want to use
// (port 80 is default for HTTP):
EthernetServer server(80);
void setup() {
// Open serial communications and wait for port to open:
Serial.begin(9600);
while (!Serial) {
; // wait for serial port to connect. Needed for Leonardo only
}
// start the Ethernet connection and the server:
Ethernet.begin(mac, ip);
server.begin();
Serial.print("server is at ");
Serial.println(Ethernet.localIP());
}
void loop() {
// listen for incoming clients
EthernetClient client = server.available();
if (client) {
Serial.println("new client");
// an http request ends with a blank line
boolean currentLineIsBlank = true;
while (client.connected()) {
if (client.available()) {
char c = client.read();
Serial.write(c);
// if you've gotten to the end of the line (received a newline
// character) and the line is blank, the http request has ended,
// so you can send a reply
if (c == '\n' && currentLineIsBlank) {
// send a standard http response header
client.println("HTTP/1.1 200 OK");
client.println("Content-Type: text/html");
client.println("Connection: close");
client.println();
client.println("<!DOCTYPE HTML>");
client.println("<html>");
// add a meta refresh tag, so the browser pulls again every 5 seconds:
client.println("<meta http-equiv=\"refresh\" content=\"5\">");
// output the value of each analog input pin
for (int analogChannel = 0; analogChannel < 2; analogChannel++) {
int sensorReading = analogRead(analogChannel);
client.print("The soil humidity of node ");
client.print(analogChannel+1);
client.print(" is ");
client.print(sensorReading);
client.println("<br />");
}
client.println("</html>");
break;
}
if (c == '\n') {
// you're starting a new line
currentLineIsBlank = true;
}
else if (c != '\r') {
// you've gotten a character on the current line
currentLineIsBlank = false;
}
}
}
// give the web browser time to receive the data
delay(1);
// close the connection:
client.stop();
Serial.println("client disonnected");
}
}
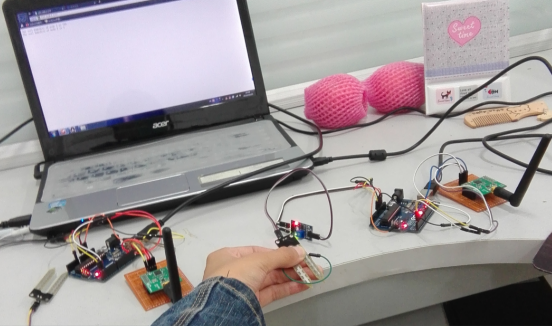
调试,从机正常工作
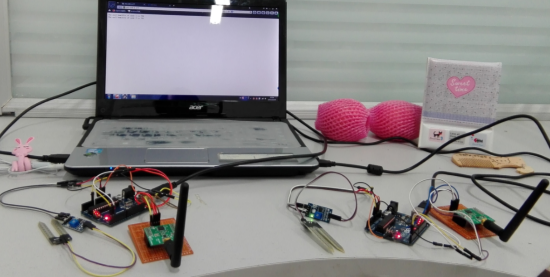
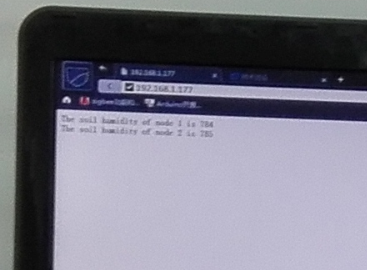
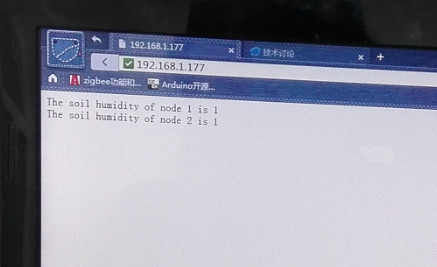
从机1土壤湿度传感器短接(模拟土壤湿度达到最大),可以看到服务器页面节点1的土壤湿度显示模拟值为1
看不清?放大,是不是能清楚点
从机2土壤湿度传感器短接(模拟土壤湿度达到最大),可以看到服务器页面节点2的土壤湿度显示模拟值为1
再稍大点看
有时候这个服务器网页也会出现这个情况,毕竟没有来得及加校验,囧。
服务器网页的功能也整合进来了,也算是大部分功能实现了~ ~\(≧▽≦)/~
|
|
此帖由Dream2013于2014-10-27 15:15:17最后编辑
|
|
RE: 农田节水灌溉模拟系统开发手记
|
Dream2013
最后登陆时间:2014-07-23 10:29:03 |
最后,关于水泵的控制。
表示有一个12V的水泵,无奈没有12V的继电器啊。反正继电器部分的控制也比较简单,就拿LED来模拟水泵的开关吧。 拿从机2做演示,把程序作了一点点改动。 String comdata = "";
int humValue;
void setup()
{
Serial.begin(9600);
pinMode( 8, OUTPUT ); //加入了两个用来控制LED的数字口
pinMode( 9, OUTPUT );
}
void loop()
{
humValue = analogRead(A0);
if( humValue>700 )
{
digitalWrite(9, HIGH); //控制LED的程序
digitalWrite(8, LOW);
}
else
{
digitalWrite(9, LOW);
digitalWrite(8, LOW);
}
while ( Serial.available() > 0 )
{
comdata += char(Serial.read());
delay(2);
}
if (comdata.length() > 0)
{
if( comdata == "2" )
Serial.println(humValue);
comdata = "";
}
}
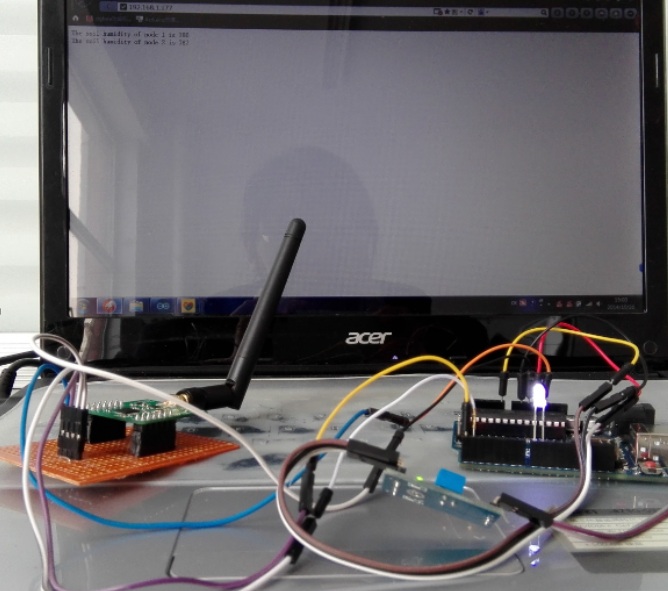
测试 明显看到小灯亮起,服务器网页上显示的数值较大,模拟检测的土壤较干。
将土壤湿度传感器两铁片短接,可以看到服务器网页上2节点的值为1,小灯熄灭
功能全都完成啦~ 最后两张光线极暗,屏幕上都能映出我的影子o(╯□╰)o 算啦, 最后爆张照片,纪念一下这个我和这个小项目~
小妹跟Q2187的亲密合影不是什么人都能看的。果断改成回复可见 ——回复可见内容——
~\(≧▽≦)/~独立完成的,虽然没多少技术含量,但还是心情愉悦~
|
|
此帖由Dream2013于2014-10-27 16:30:54最后编辑
|
|
动手能力蛮强的胖妹纸
|
二叔
最后登陆时间:2014-10-23 10:40:53 |
“表示有一个12V的水泵,无奈没有12V的继电器啊。反正继电器部分的控制也比较简单,就拿LED来模拟水泵的开关吧。” 晓芙,12V的水泵不用12V的继电器,用5V,继续搞吧~ |
 讨论圈
讨论圈


